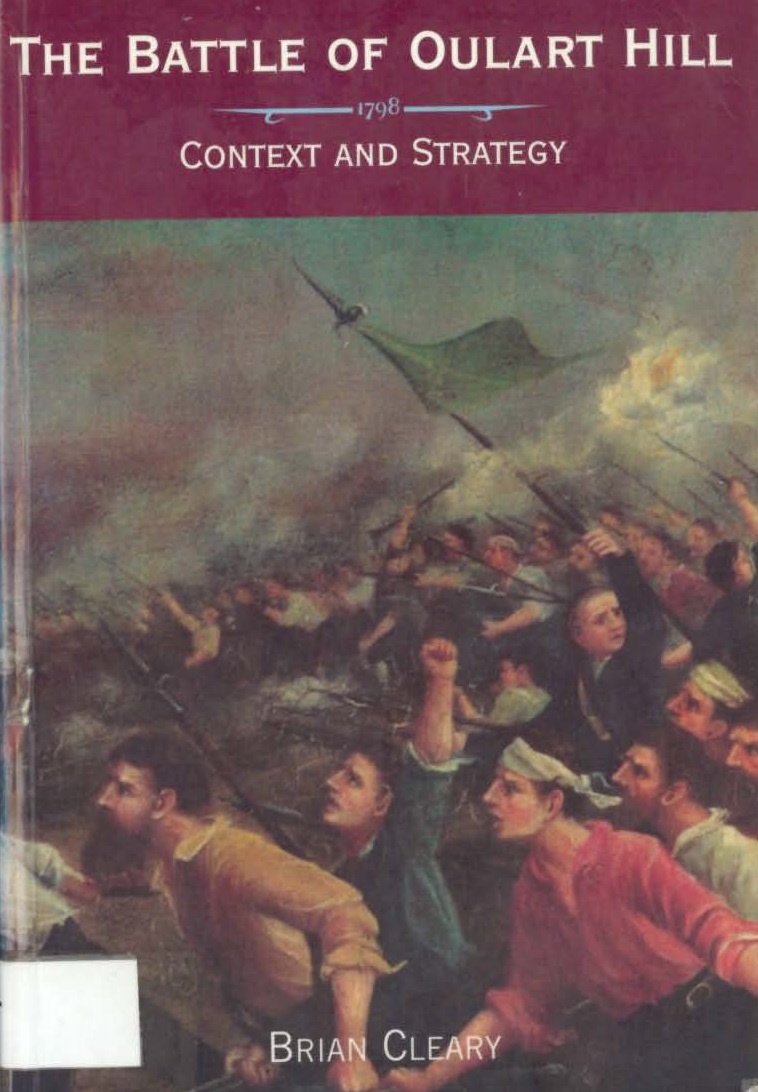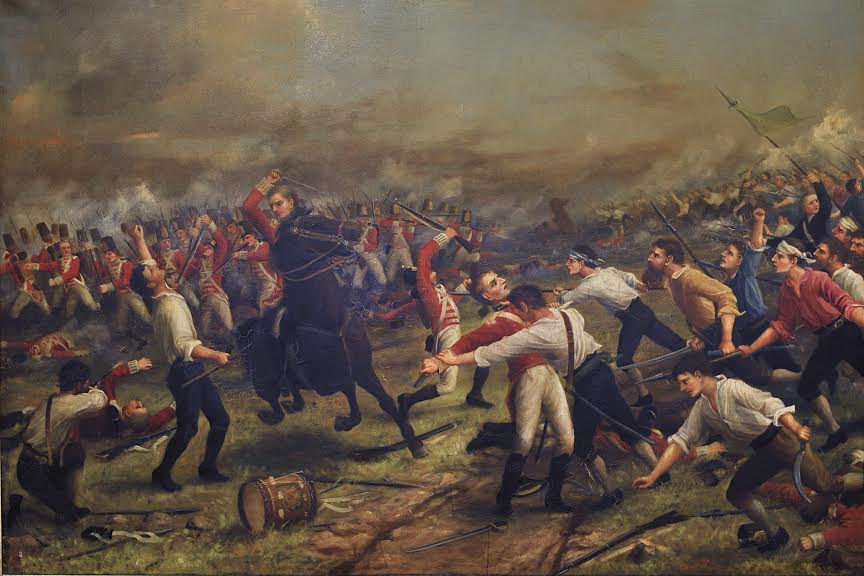
The Battle of Oulart Hill by Fr. Edward Foran OSA (1861-1938) who also designed the 1898 Monument in Oulart Village.
Outbreak of Rising
By Saturday 26 May, 1798 news of formidable fighting in Kildare and Carlow had reached Wexford and that afternoon United Irish mobilisation got under way in several parishes. During the afternoon a man named Redmond was killed by yeomen at Ballycarney in an incident that may have been part of the buildup to a later raid for arms around 6.p.m. on the Piper homestead in that locality. About ten that evening the inevitable happened: a confrontation between the sides took place took place at The Harrow. Two yeomen named Bookey and Donovan, were killed by a group of Boolavogue men led by Fr. John Murphy. Immediately, young John Donovan was despatched southward on horseback to inform local United Irish Colonels Edward Fitzgerald of Newpark and Edward Roche of Garrylough of what had taken place and to arrange for a junction of forces sometime before noon the next day at Darby Kavanagh’s Inn in Ballinamonabeg.
-
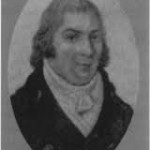
- General Edward Roche
-
- Father John Murphy
The Forces Involved
‘Rebels’ (United Irish)
The Rebel force numbered between 1000 and 1500 men of sundry arms. Some fifty men had guns. For the most part the men were armed with pikes and farm implements such as pitchforks and scythes. It is thought that the heel of the scythe was straightened and the blade then fastened to a straight handle to provide an elongated and less unwieldy weapon.
As many as two thousand women, children and others had already gathered on the hill as refugees afraid to remain in their homes. These were placed behind the pikemen’s line.
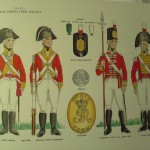
Crown Forces
Government forces comprised 126 officers and men of the North Cork Militia (infantry) under Lieut. Col. Foote and Major Lombard supported by nineteen officers and men of the Shelmalier Yeoman Cavalry under Col. Le-Hunte. Almost half this latter body had been brought over to the rebel cause during the night by General Edward Roche who was Sergeant in the corps.
Disposition of Forces
By mid-afternoon on Whitsunday, 27 May, having done a circuit of the district to gather their supporters, Fr. John Murphy, Curate of Boolavogue, United Irish Col. Edward Roche, Morgan Byrne of Castlesow and George Sparks of Blackwater assembled their men on Oulart Hill, in what appears to have been the implementation of an existing plan familiar to all. It was probably the original plan for raising North Wexford as part of the general national Rising that had collapsed in Dublin the previous Wednesday night.
All the gunsmen along with perhaps 300 of the pikemen and men with sundry weapons were placed in a right-angled ambush on a corner and along its subtending ditches (fences). The remainder formed into line behind them as shown on Cahill’s Map (1817).
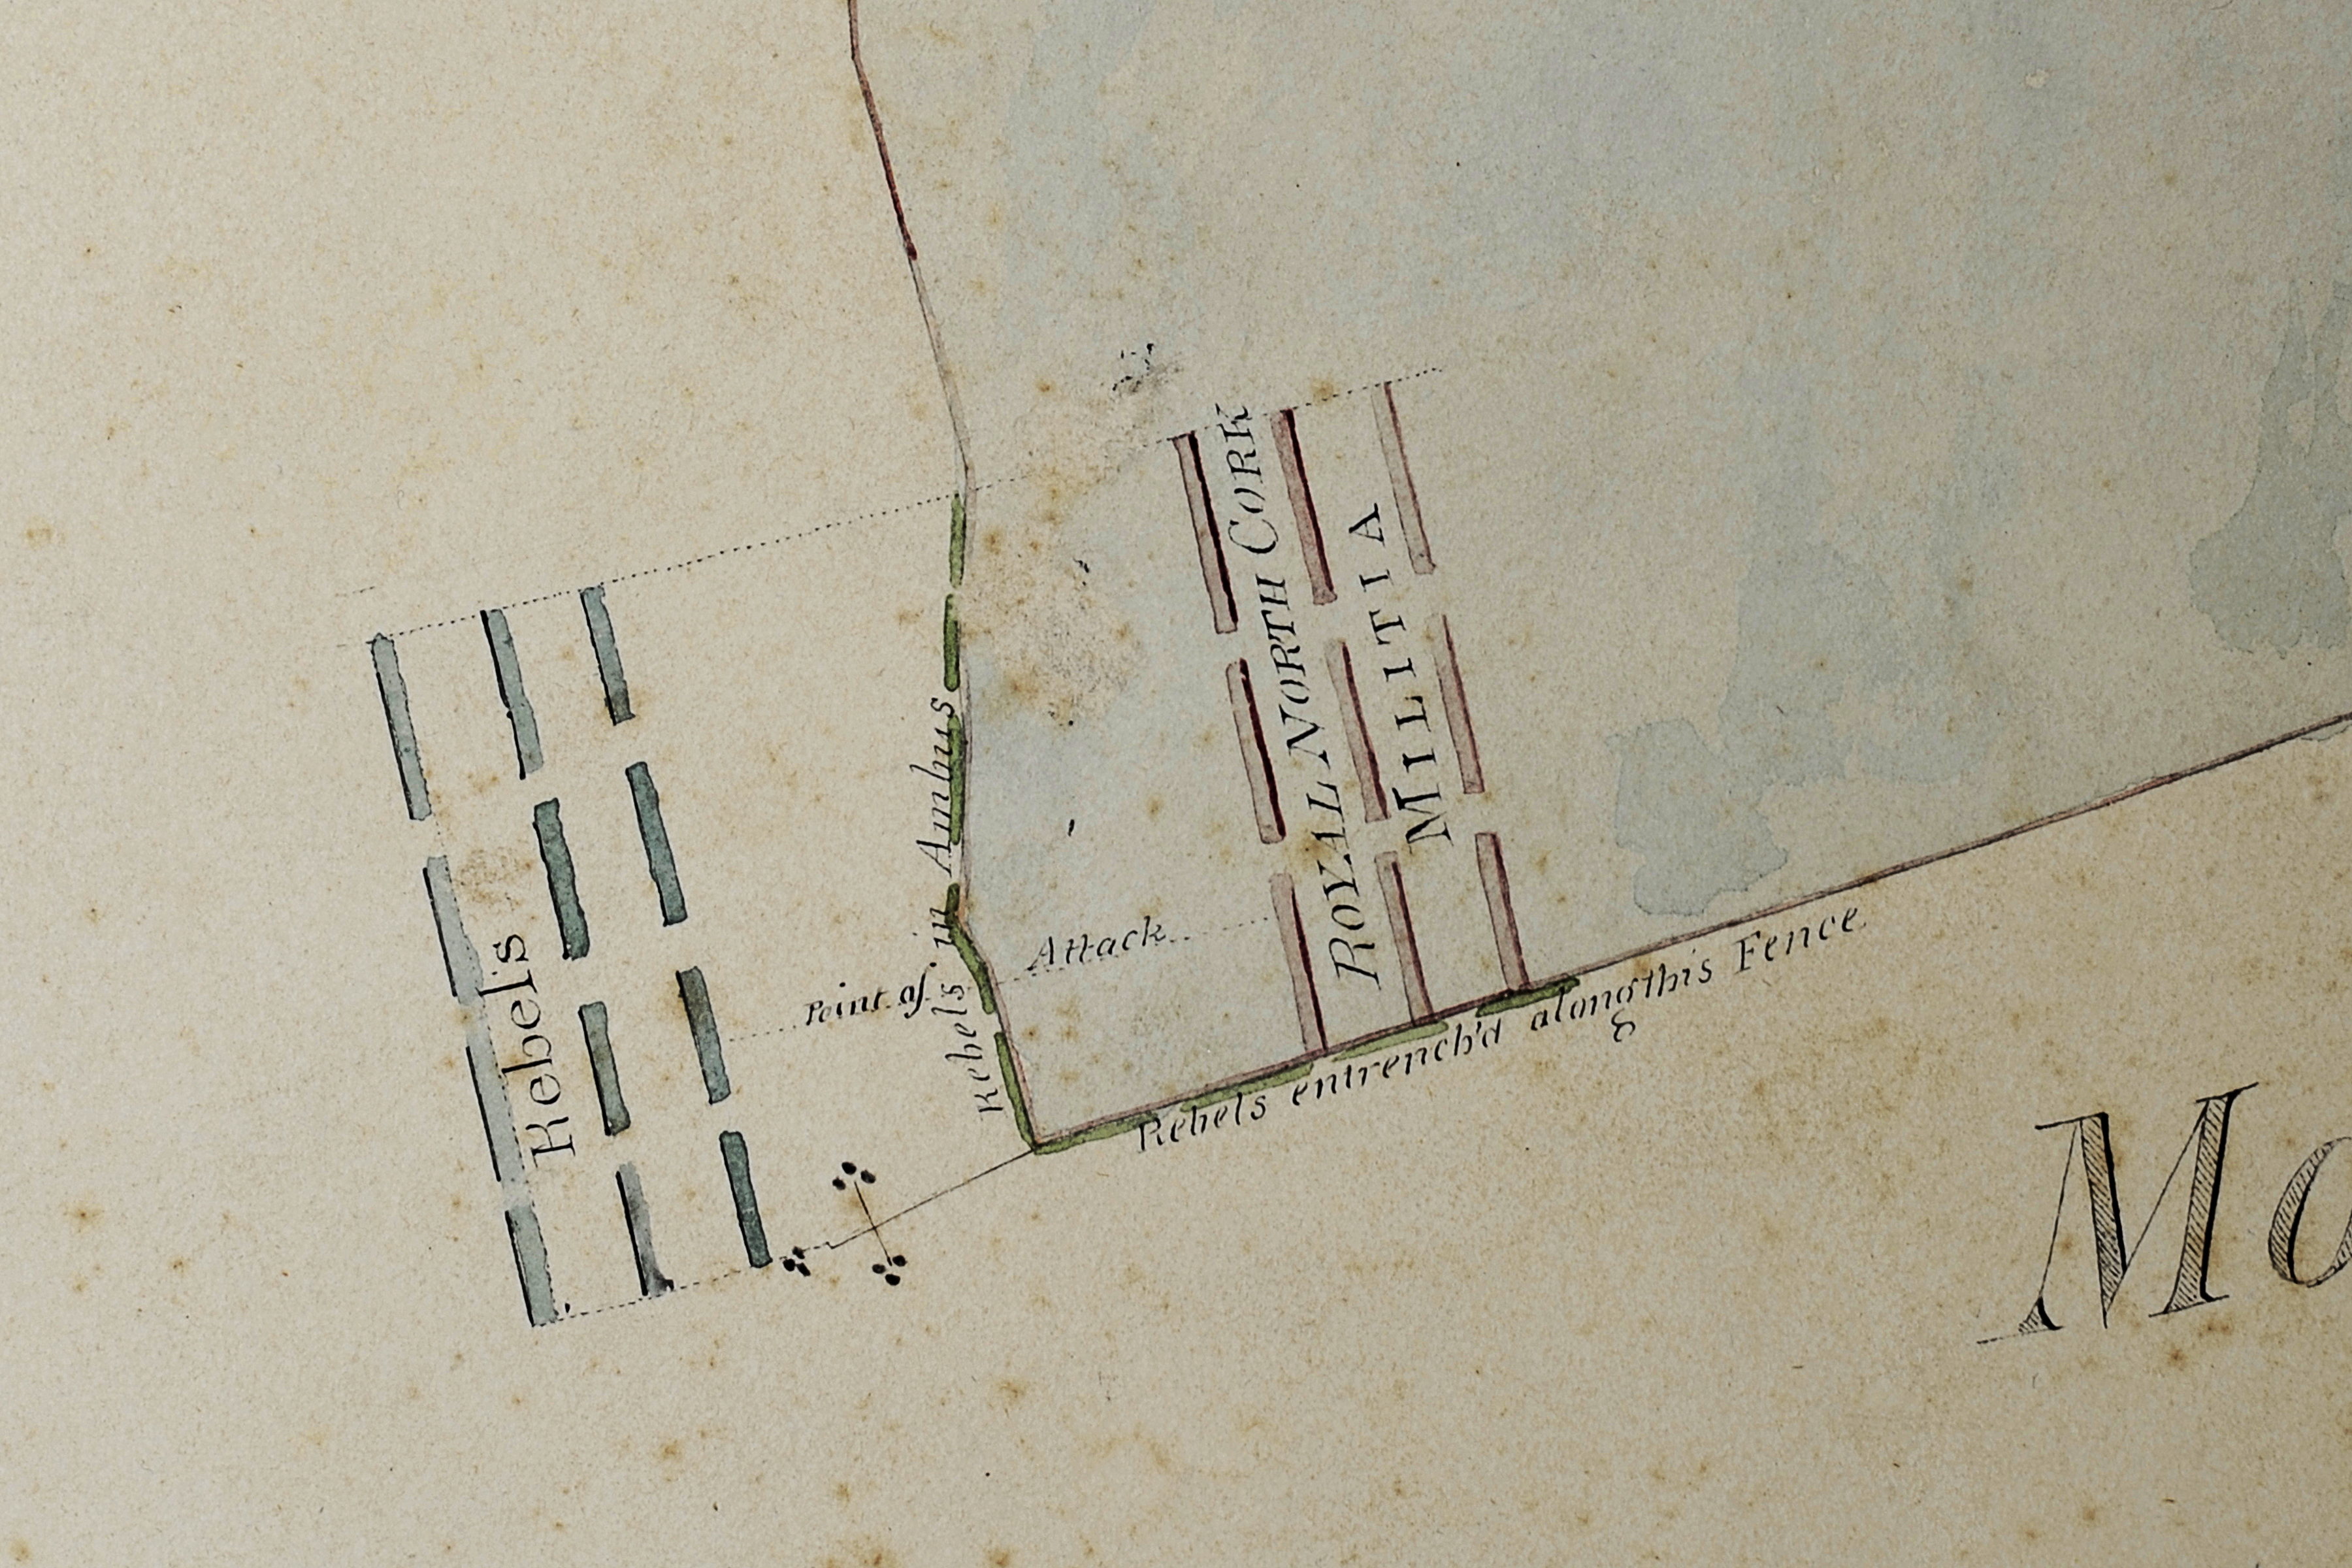
Detail of James Cahill’s Map (1817)
Location of Battle
Cahill’s map not only provides a record of the shape of the battlefield but it also gives us an exact coordinate for the encounter because it took place in that corner where the three townlands of Kyle, Oulart and Móin an Mhuillinn meet. He also shows that the line of attack was south-north across the level top of the hill and not up and down in an east-west direction. The infoboard at the battlefield stands right at this corner. See map below.
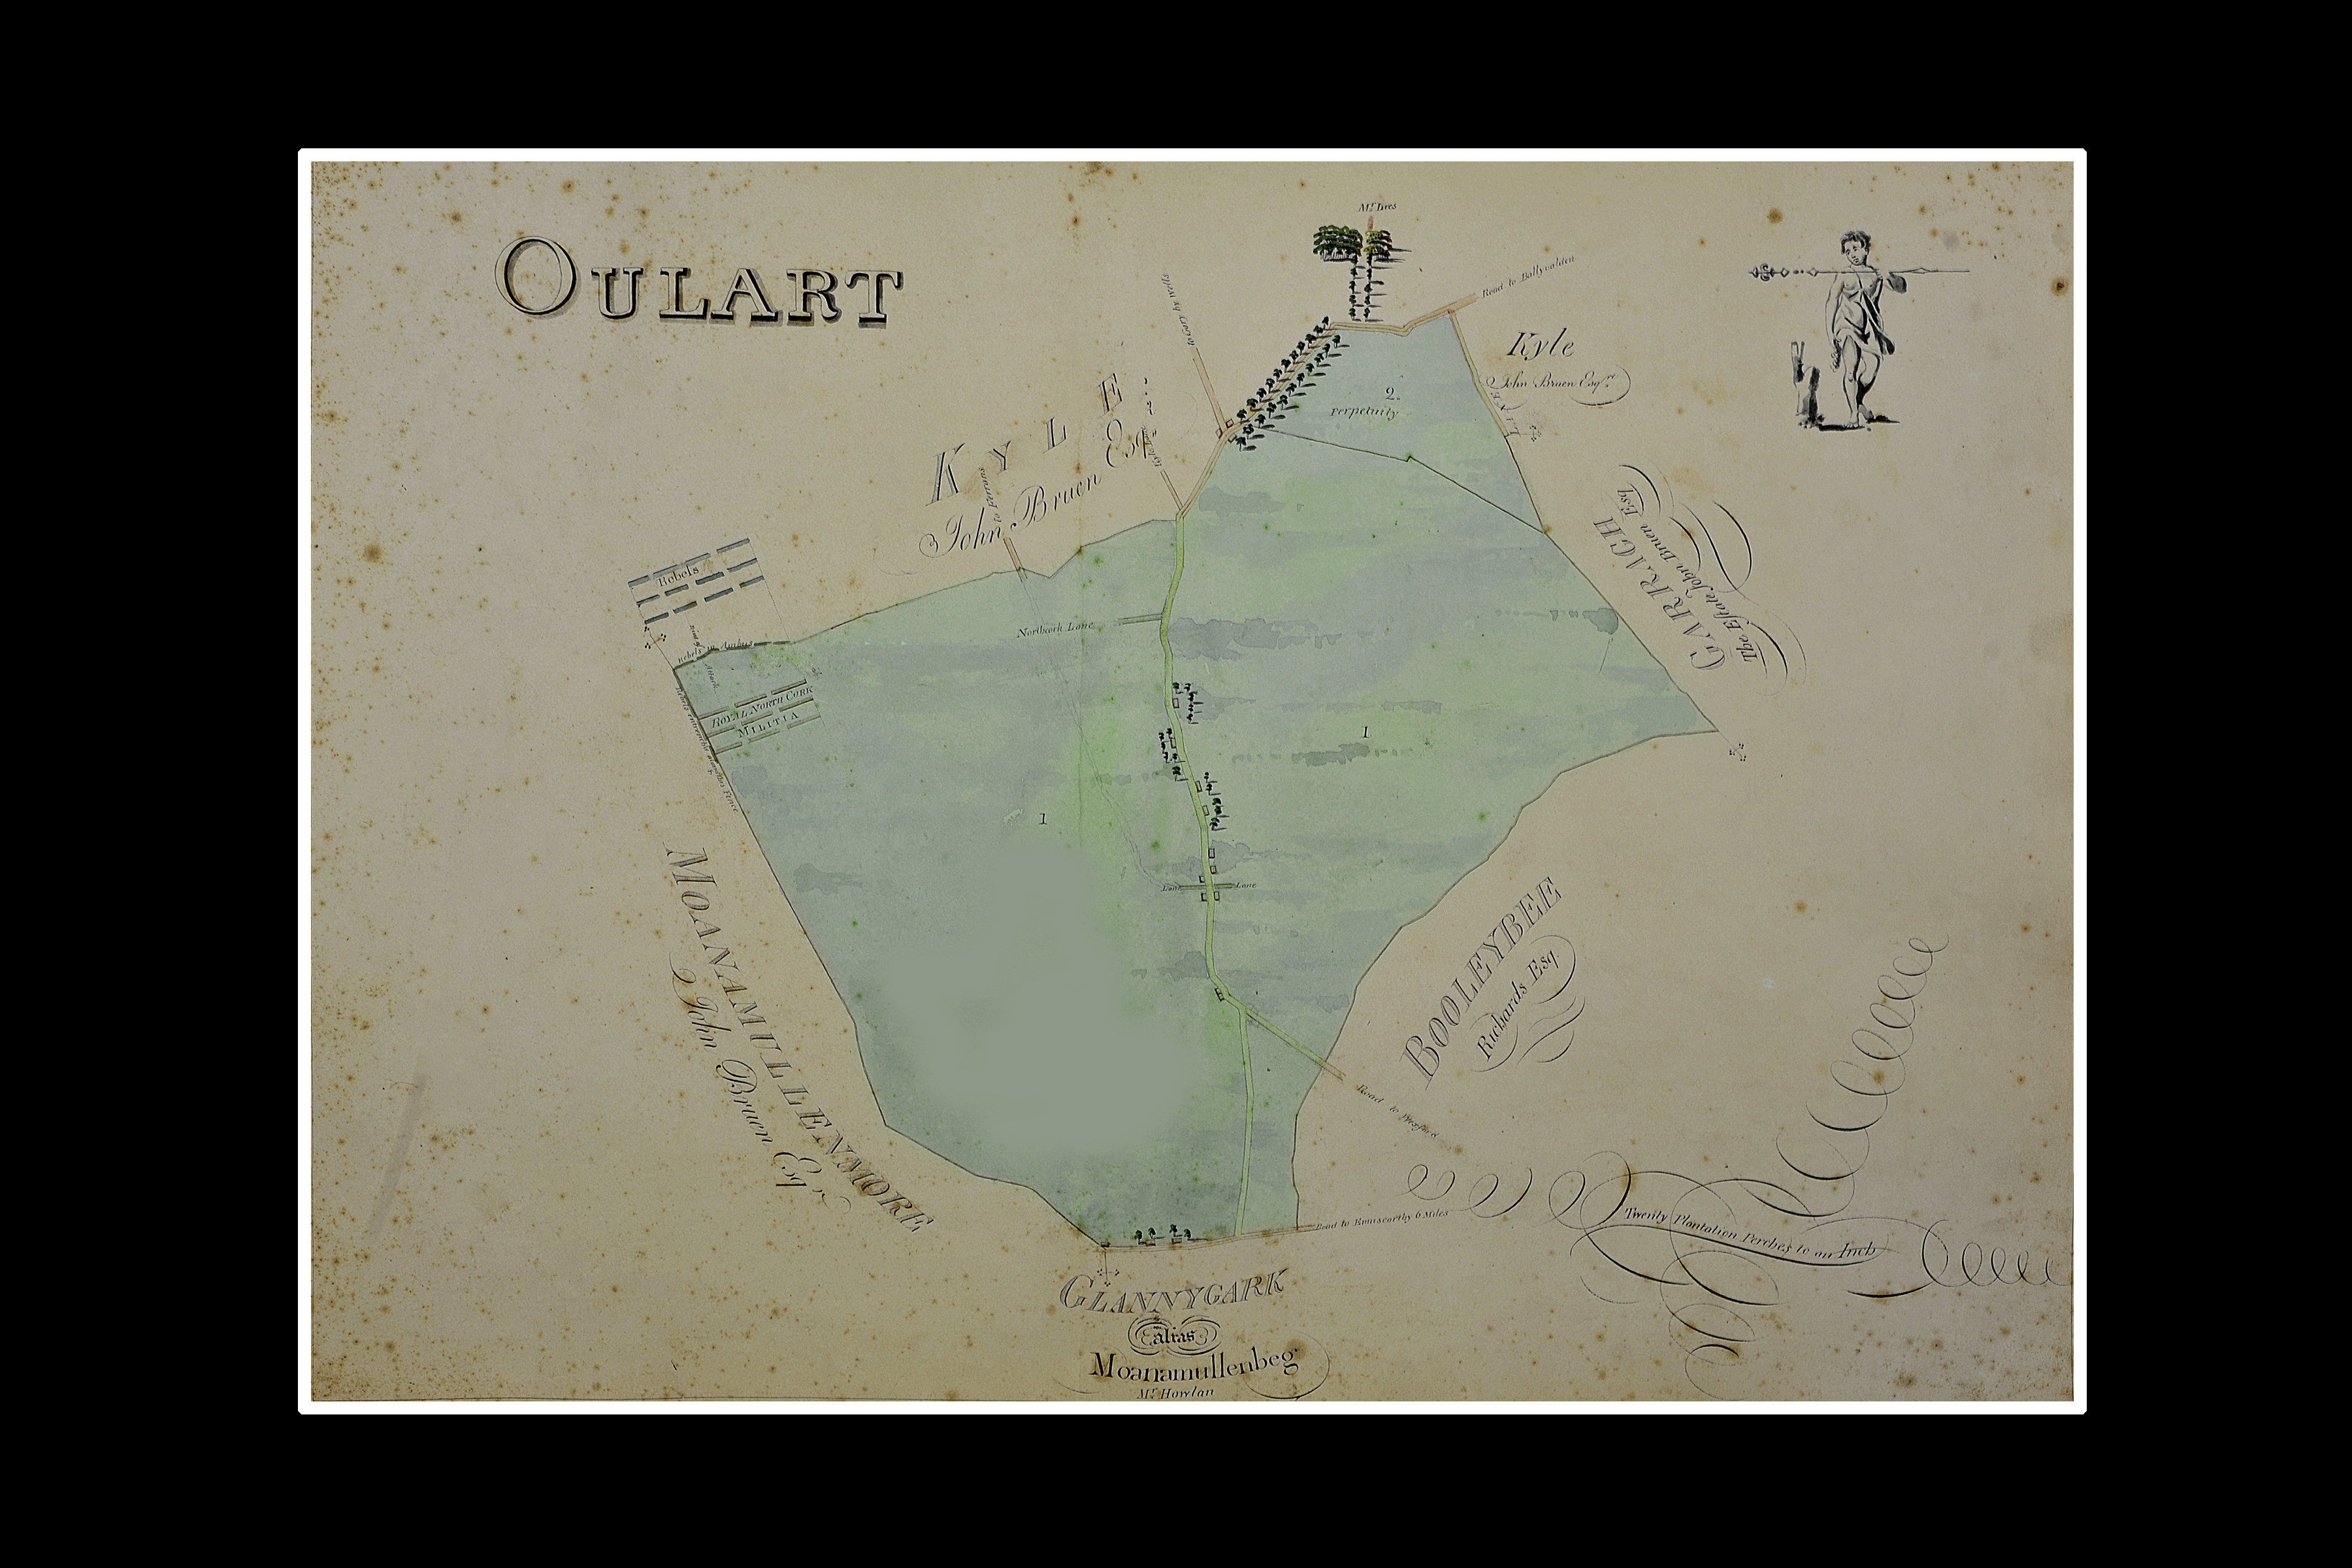
Cahill: Showing townlands of Kyle, Móin a’ Mhuilinn and Oulart (shaded blue).
The Battle Proper
In essence the battle took the form of a highly successful ambush in which the steadiness of the concealed men was matched by the overconfidence of the crown forces. However it was a close-run affair. Crown forces instituted a pincer movement with the militia coming straight on from the eastern side and wheeling right towards the ambush. The Shelmalier Cavalry went round the back of the hill to attack from the rere.
Many of the people as well as almost half the pikemen had in fact begun to flee as the battle developed and Morgan Byrne made tremendous efforts to reassure them and persuade them to return to the line. Whether their flight was a natural result of fear or a pre-planned ruse de guerre cannot now be known but it had a bearing on the outcome as it encouraged Lombard to commit his force to the battle.
However, the decisive moment arrived with a deliberate feigned retreat of a section of the pikemen of the line back over a ditch close behind them (still extant) which convinced Major Lombard that the rebels were retreating. This conclusion drew Lombard and his men in over the ambush to their doom. This manoeuvre is most likely to have been carried out by Roche and Sparkes. It followed a hurried huddle between the leaders at the corner of the field. (See Six-Section Map of Progress of Battle at Foot of Page)
It was of prime importance at this critical moment that, seeing the danger, the pikemen of the line behind the ambush instinctively raised their hats and jeered at the militia to divert their attention away from the presence of the ambush which was still undetected. The militia fired their guns at them for their cheek. When they did, the ambush rose up, fired from about fifteen metres range, and then went over the ditch on the attack ‘with breech and barrel’ and the whole line of pikemen rushed forward headlong with them in support. In seconds the militia were engulfed. After the initial shock, some effort was made to fight, but it was shortlived and they soon broke and ran down the hill via the North Cork Lane where the Ballyvaldon men, arriving late for the battle, formed a further ambush to destroy them. (See map given here):
The Different Phases of The Battle
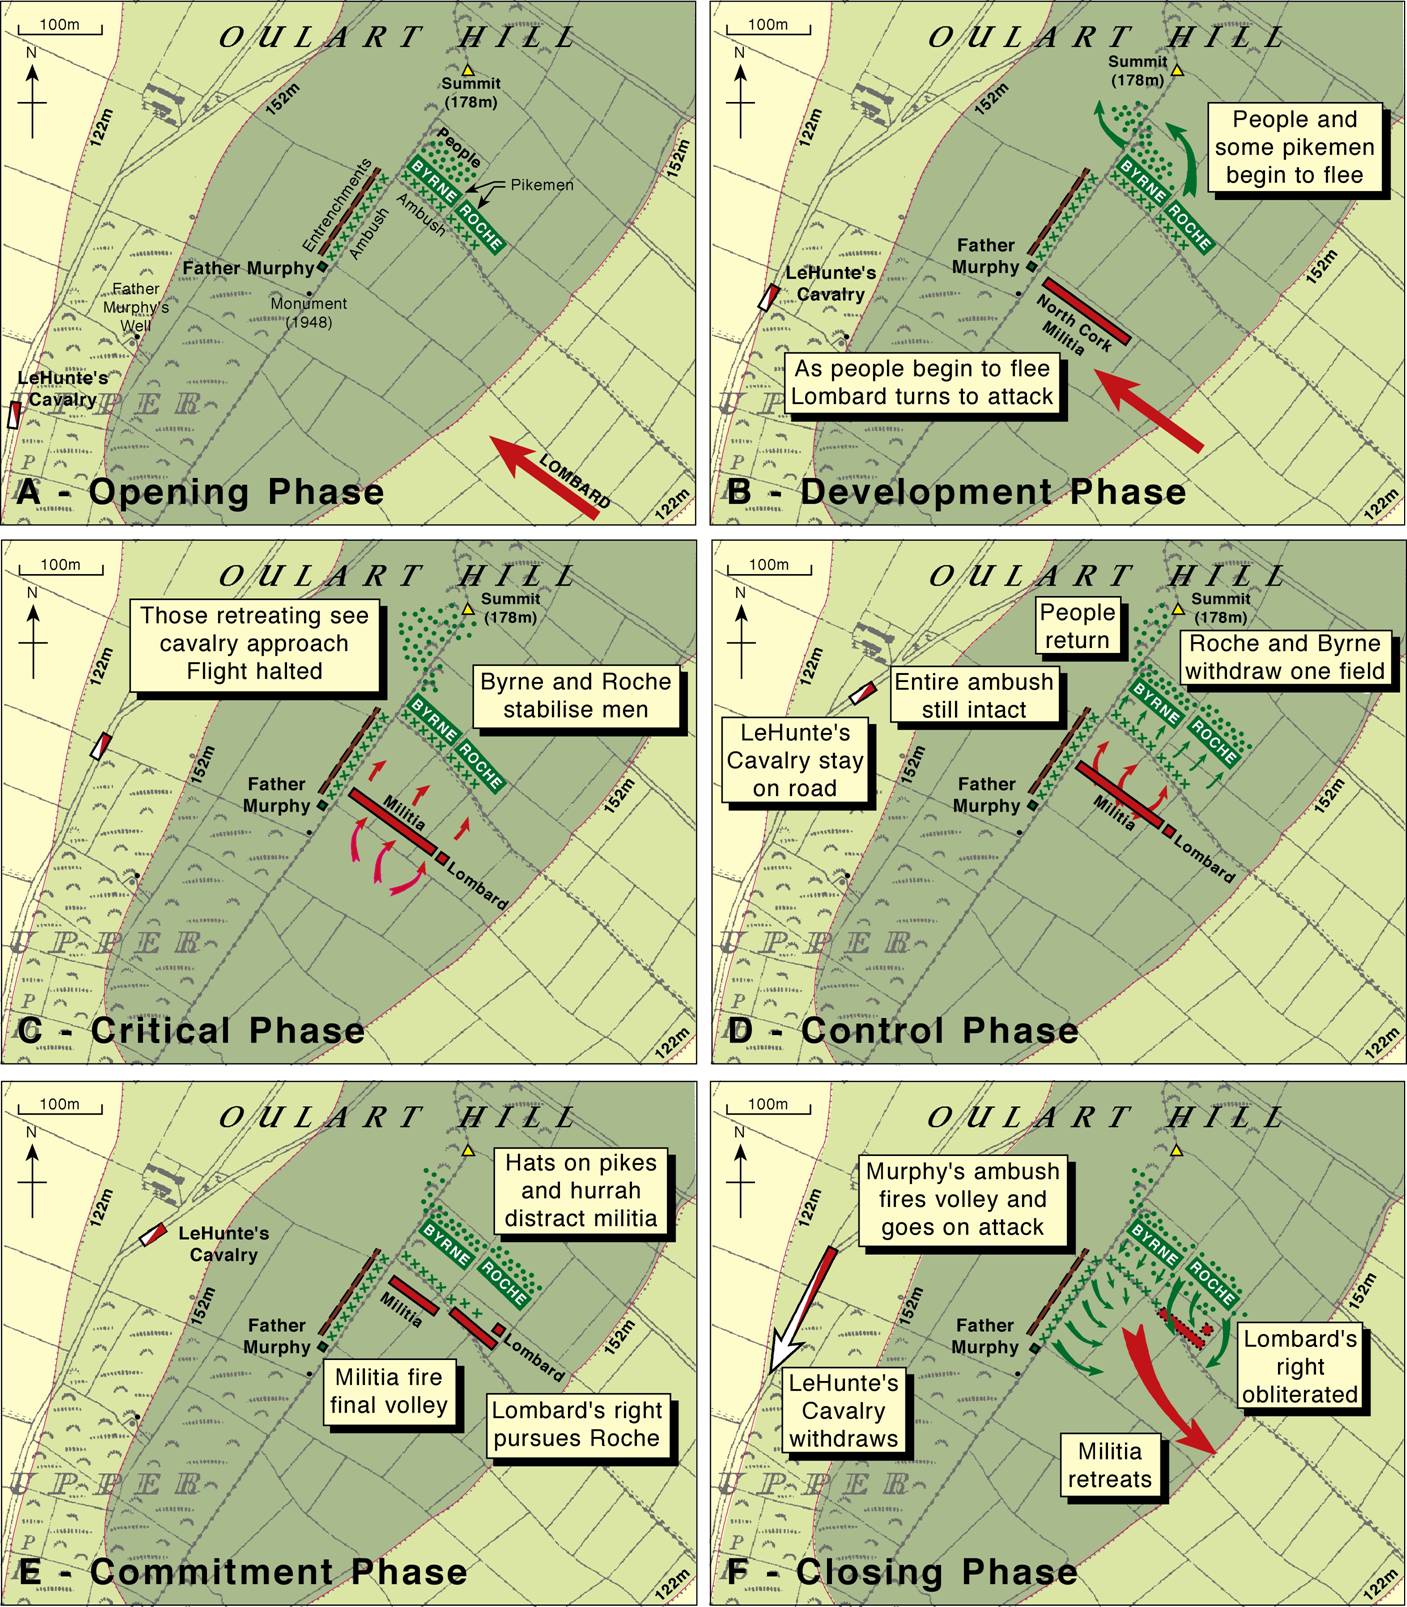
Copyright Brian Cleary. Drawn by Matthew Stout, formerly of TCD and now of St Patrick’s College, Drumconcra and DCU.
Outcome
Of the entire force of militia only Col. Foote, one Sergeant and three privates escaped with their lives to make it back to Wexford where the news from Oulart Hill caused consternation and panic among loyalists. The Cavalry had apparently declined to play any significant role in the battle and made their way hurriedly back to Wexford in safety. Their exact role on the day is still unclear.
Six rebels were killed in the battle and their names are carved on stones along Cosán na Glóire. You can visit their grave by the door of the ’98 Chapel down in the village. One of the six, a young man named Murphy from Kilcotty was poor and wore a cast off red waistcoat. He had the bad luck to fall on his face in the action and in the melee he was piked on the ground as a redcoat.
Impact
Each militiaman had carried a modern top-quality ‘Brown Bess’ flint-lock musket along with a pouch of sixty cartridges of powder and ball. It was a very significant increase in arms for the rebels – quadrupling their firepower.
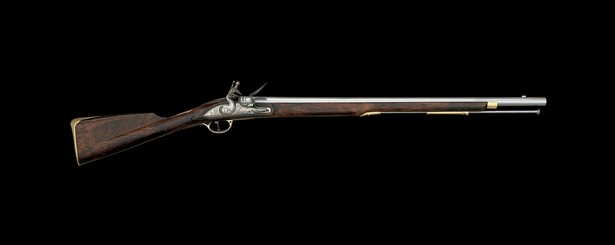
The Brown Bess. An experienced soldier might get off three shots a minute.
The Battle of Oulart Hill was arguably the most influential battle of 1798. It was certainly the only one of which it can be said that, had it failed, there would have been no other. Its greatest effect was its impact on morale. News of what had happened spread like wildfire across all Wexford – the first real victory for Irish Arms since the Fall of Limerick in Sarsfield’s time. The effect was electric. Thousands now flocked to the banners. Next day Enniscorthy was stormed and all United Irish leaders were summoned to Vinegar Hill to renew and adapt their programme. On Thursday a fledgeling administration was set up in Wexford town giving the insurrection a clear United Irish revolutionary democratic dimension with the nation’s first attempt at a populist political structure – The Wexford Republic. (Brian Ó Cléirigh, 15.08.2014.)
Further Reading
The Battle of Oulart Hill, Context and Strategy by Brian Cleary.